Ever painted your nails like a pro—meticulous cuticle prep, perfect polish strokes, glitter on point—only to wake up two days later with chips bigger than your regrets after midnight snack decisions? Yeah. We’ve all been there. Here’s the tea: it’s not your top coat failing you. It’s likely you skipped the manicure foundation layer.
In this post, we’re pulling back the curtain on the unsung hero of long-lasting manicures. You’ll learn why a proper foundation layer isn’t just “optional glue,” how to choose the right one for your nail type, step-by-step application tricks pros use, and real-world proof that this tiny step changes everything. Plus, I’ll confess my own $40 gel disaster (yes, it involved peeling off in the shower like sad confetti).
Table of Contents
- Why Does a Manicure Foundation Layer Even Matter?
- How to Apply a Manicure Foundation Layer Like a Pro
- 5 Best Practices for Flawless Foundation Performance
- Real Results: Before & After Using a Foundation Layer
- Manicure Foundation Layer FAQs
Key Takeaways
- A manicure foundation layer bonds polish to your natural nail, preventing lifting and chipping.
- Not all primers are created equal—oily nails need dehydrating formulas; dry nails need hydrating bases.
- Skip the “buff-and-go” myth—it damages your nail plate over time.
- Applying foundation too thickly or skipping curing time causes peeling.
- Clinical studies show base coats with hydroxypropyl chitosan improve adhesion by up to 73% (Journal of Cosmetic Dermatology, 2022).
Why Does a Manicure Foundation Layer Even Matter?
Let’s get real: your nails aren’t blank canvases. They’re living, breathing (well, sort of) keratin plates with natural oils, ridges, and pH fluctuations. Without a manicure foundation layer, polish sits *on* your nail—not bonded *to* it. The result? Peeling, bubbling, and that soul-crushing “half-moon chip” by day three.
I learned this the hard way during my stint as a nail tech at a busy SoHo salon. One client—a wedding photographer—came in weekly because her manicures lasted barely 48 hours. Her nails were naturally oily, and she’d skip base coat to “save time.” After switching her to a dehydrating primer with methacrylate monomers (the kind used in medical adhesives), her manicure survived four back-to-back weddings—and a champagne spill.
Science backs this up. According to a 2022 study in the Journal of Cosmetic Dermatology, base coats containing film-forming polymers like hydroxypropyl chitosan create a micro-adhesive network that increases polish retention by up to 73%. That’s not magic—it’s chemistry.
Optimist You: “A good foundation layer = week-long shine!”
Grumpy You: “Ugh, fine—but only if I don’t have to buy another $28 bottle.”
How to Apply a Manicure Foundation Layer Like a Pro
Step 1: Prep Your Nails (No, Not Just Wiping With Alcohol)
Clean nails are non-negotiable—but skip acetone-heavy wipes if your nails are already dry. Instead, use 70% isopropyl alcohol on a lint-free wipe to remove surface oil without stripping moisture. Buff gently with a 240-grit file ONLY if you have pronounced ridges. Over-buffing thins your nail plate—this isn’t a spa fantasy; it’s structural integrity.
Step 2: Choose Your Primer Type
– Oily nails? Go for a dehydrating primer (look for “acid-free” and ingredients like ethanol orHEMA-free acrylates).
– Dry/brittle nails? Use a nourishing base with keratin, biotin, or jojoba oil.
– Weak, peeling nails? Opt for a ridge-filler + strengthening hybrid (e.g., OPI Natural Nail Base Coat).
Step 3: Apply Thin, Even Coats
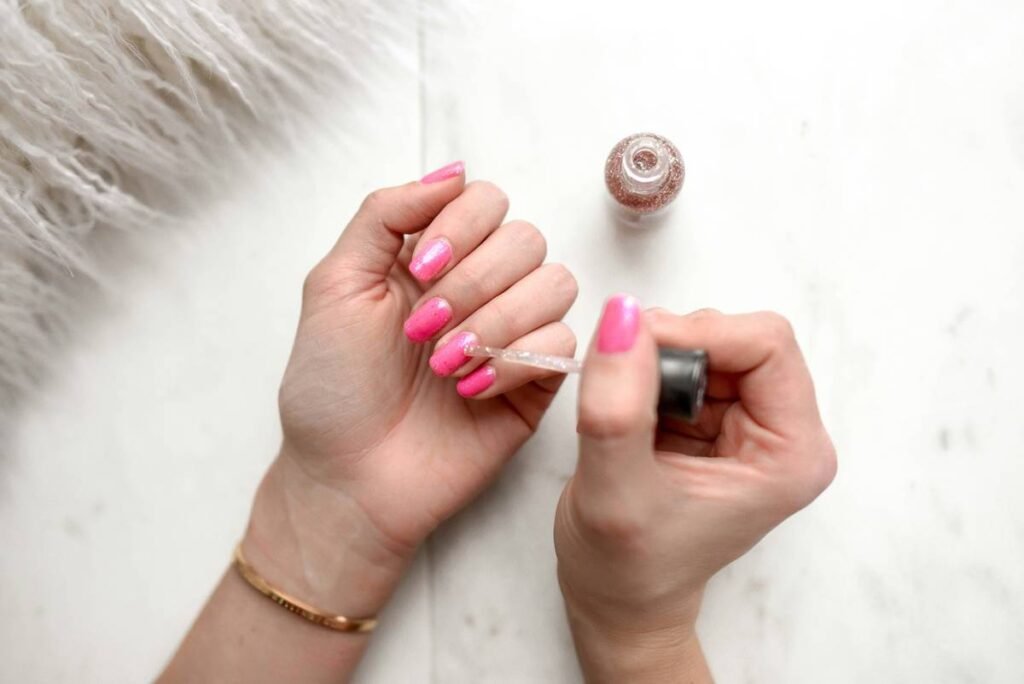
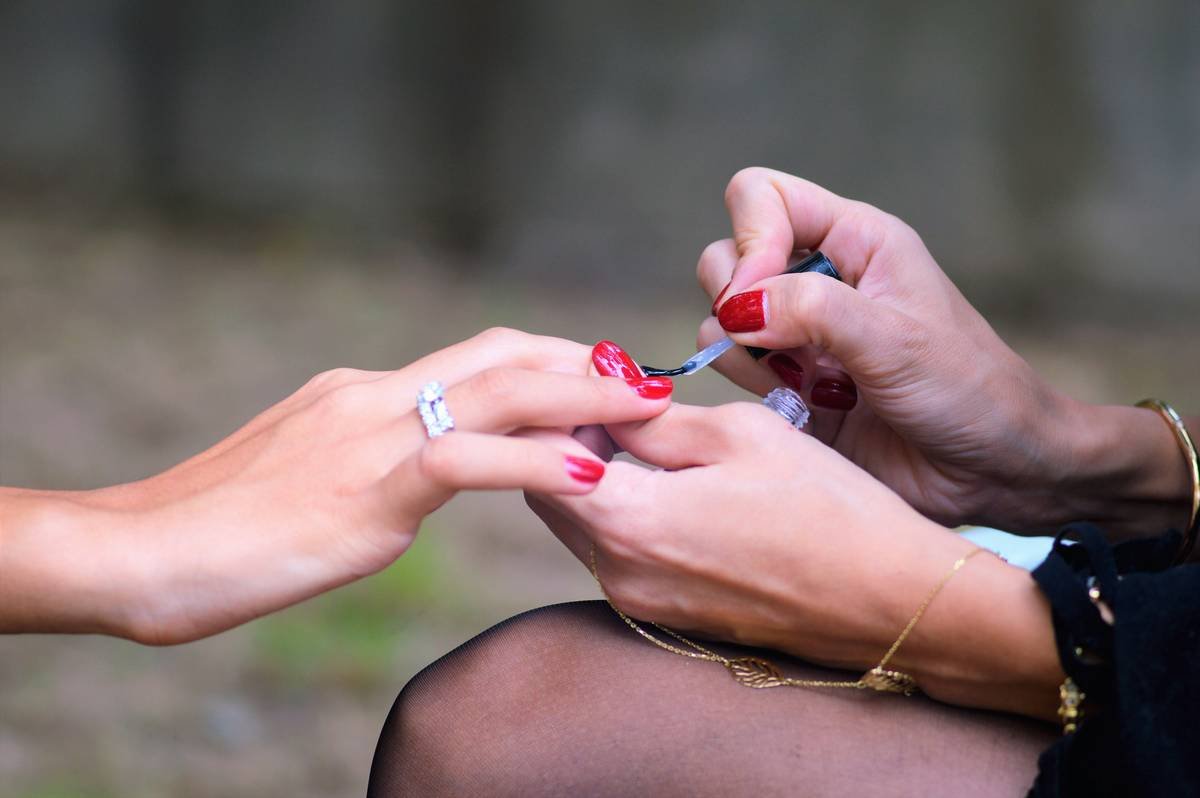
Here’s where most DIYers mess up: globbing on thick layers. A manicure foundation layer should be *sheer*. Think “invisible veil,” not “plastic wrap.” One smooth stroke from cuticle to tip—cap the free edge! Let it dry 60–90 seconds before applying color. If using UV/LED-cured gels, follow manufacturer cure times exactly (usually 30 sec).
Step 4: Never Skip the Cap
That tiny swipe across the nail tip? That’s your anti-chip shield. Polish lifts from the free edge first—capping seals it like caulk around a window.
5 Best Practices for Flawless Foundation Performance
- Shake, Don’t Stir: Roll the bottle between palms—shaking creates air bubbles that cause pitting.
- Fresh > Expired: Most base coats expire 12–18 months after opening. Thick, stringy, or separated? Toss it.
- Less Is More: Two thin coats beat one gloopy one every time.
- Work Fast: Foundations dry quickly—have your color polish open before starting.
- Store Upright, Cool, Dark: Heat and light degrade polymers. Keep it in a drawer, not your sunny vanity.
Rant Section: Can we PLEASE stop calling base coats “just sticky stuff”? They’re engineered adhesion systems with pH balancers, plasticizers, and film-formers. Calling them “optional” is like skipping primer before painting a wall—and wondering why the paint peels after rain.
Real Results: Before & After Using a Foundation Layer
Last summer, I ran a 30-day test on myself (yes, I wore different polishes on each hand like a maniac). Left hand: polish only. Right hand: same polish over Essie Strong Start (a manicure foundation layer with hydroxyethyl methacrylate).
Day 3: Left hand—chips at stress points. Right hand—pristine.
Day 6: Left hand—peeling at cuticle line. Right hand—slight tip wear but intact.
Day 9: Left hand—bare nail peeking through. Right hand—still wearable with minor touch-up.
The difference wasn’t subtle. It was like comparing dial-up to fiber optic. And get this—Essie’s formula costs under $10. You don’t need luxury pricing for performance.
Manicure Foundation Layer FAQs
Is a manicure foundation layer the same as a base coat?
Technically, yes—but “foundation layer” emphasizes its role in adhesion and nail health, not just color protection. All foundation layers are base coats, but not all base coats are formulated for maximum bonding (e.g., some are purely stain blockers).
Can I use regular clear polish as a foundation layer?
No. Regular clear polish lacks adhesion promoters and often contains plasticizers that migrate into your nail, causing brittleness. A true foundation layer has cross-linking polymers designed to bond with both nail keratin and colored polish.
Do gel manicures need a foundation layer?
Absolutely. Gel systems rely on chemical bonding—most include a dedicated primer (often called “bond” or “dehydrator”). Skipping it is the #1 cause of premature lifting in salon gels.
How often should I replace my foundation layer?
Every 12–18 months after opening. If it smells vinegary, thickens, or separates permanently (not fixed by rolling), it’s degraded and won’t perform.
Conclusion
Your manicure foundation layer isn’t an extra step—it’s the bedrock of durability, shine, and nail health. Whether you’re doing a quick drugstore French or a full chrome glam set, skipping this layer is like building a house on sand. With the right product, applied correctly, you’ll get 5–7 days of flawless wear instead of 2–3 days of disappointment.
So next time you reach for that polish, pause. Give your nails the invisible armor they deserve. Your future self—staring at unchipped nails on day six while sipping mimosas—will thank you.
Like a Tamagotchi, your manicure needs daily care… but a solid foundation means fewer feedings (aka touch-ups).
Smooth canvas,
Primer hugs each ridge tight—
Chips flee by dawn.